

AWS Integration
What the AWS integration contributes, and what you need to connect it.
What this contributes
AWS is the base layer of your architecture model. It supplies the accounts, regions, services, and configuration that everything else is described against: the compute that workloads run on, the networking they communicate over, and the managed services they depend on.
Without it, Catio has no current-state model to reason from, and every other integration describes something in relation to infrastructure that is not there. Connect this one first.
Once connected, it populates Diagrams and the architecture inventory, and becomes the constraints component of Workspace Context.
Setting it up
The wizard has four steps: select the integration, create the IAM role, enter your account and External ID, then review and name it.
1. Select AWS from the integration catalog
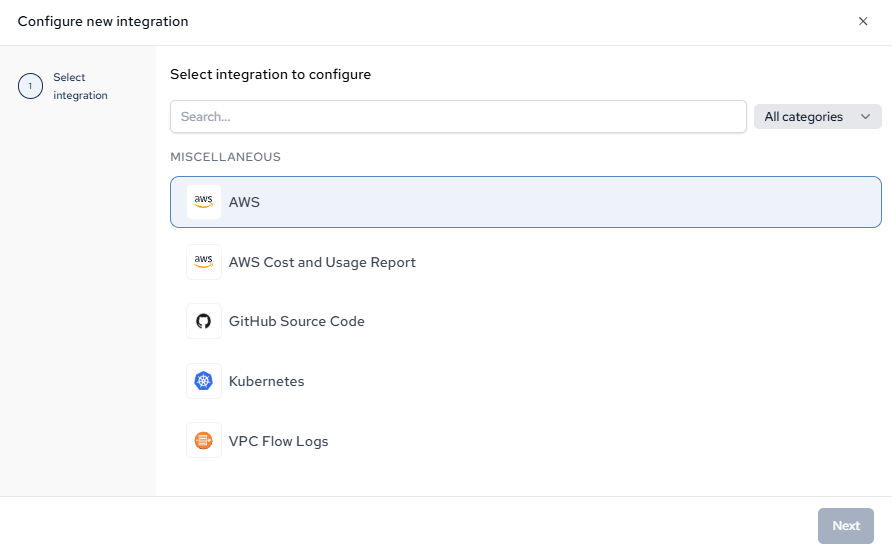
From Integrations → Configure New, pick AWS. Connect this one before the others: Cost and Usage Report, Kubernetes, and VPC Flow Logs all describe things in relation to the components AWS produces, so they have little to attach to until it has run.
2. Read what the extractor collects
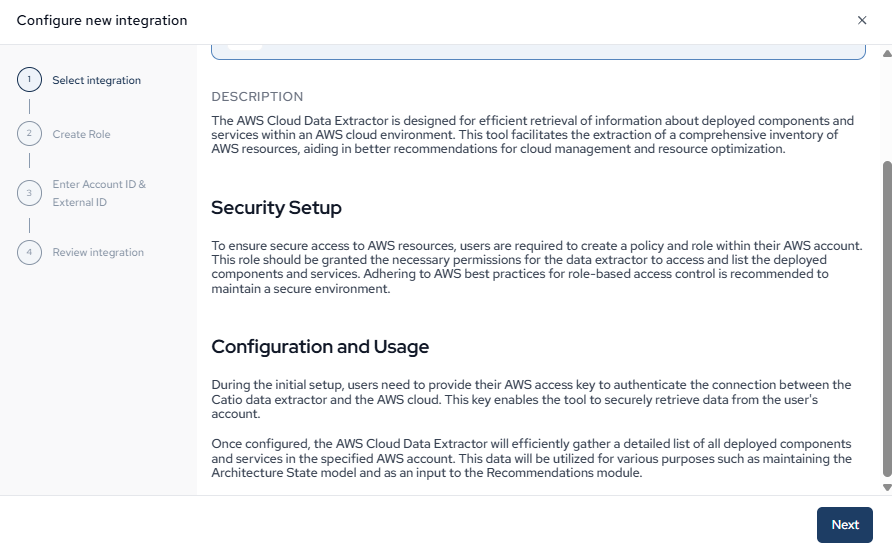
The AWS extractor builds an inventory of deployed components and services across the account. It reads configuration and metadata, not the contents of your systems — the role you create in the next step is what enforces that.
3. Create the IAM role
Catio does not take credentials. It assumes a role in your account, which means access is revocable by you at any time and nothing long-lived is stored.
The role must be named CatioConsoleAccessRole exactly. The wizard matches on that name.
Three things go on it:
- A trust policy allowing
arn:aws:iam::090135924592:role/CatioPlatformAccessIRSAto assume it, conditioned on your External ID. The External ID is generated per integration and shown in the wizard — use that value, do not invent one. It is what prevents a third party who learns your account ID from assuming the role. ReadOnlyAccess, the AWS managed job-function policy. This is what lets the extractor list and describe your resources.CatioDenyPolicy, an inline deny. This is the important one, and it is what makes "read-only" mean metadata only. It explicitly denies the actions that would return data rather than configuration —s3:GetObject,kms:Decrypt,secretsmanager:GetSecretValue,ssm:GetParameter*, DynamoDB reads,rds-dataandredshift-datastatement execution,ec2:GetPasswordData, and others. It also re-allows a set ofGet*/List*describe actions thatReadOnlyAccessdoes not cover.
The wizard gives both a CLI path and a Management Console path, with the full policy JSON and a download link so you can review it before applying. The CLI path is three commands:
aws iam create-role --role-name CatioConsoleAccessRole --assume-role-policy-document '<trust policy shown in the wizard>'
aws iam attach-role-policy --role-name CatioConsoleAccessRole --policy-arn arn:aws:iam::aws:policy/ReadOnlyAccess
aws iam put-role-policy --role-name CatioConsoleAccessRole --policy-name CatioDenyPolicy --policy-document '<deny policy shown in the wizard>'
If you use the Console path instead, select AWS account → Another AWS account, enter Catio's account number 090135924592, and check Require external ID. Attach ReadOnlyAccess from the AWS managed - job function filter — the exact name matters — then edit the trust relationship to the ARN form above and add the deny policy as an inline JSON policy.
4. Enter your Account ID, External ID, and regions
Enter your 12-digit AWS Account ID and the External ID from the wizard, then set the regions to scan.
Regions are a comma-separated list, and * means all 32. This is a real scope decision, not a formality:
*gives complete coverage and is the safe default when you do not know where everything runs. Scans take longer.- A narrow list scans faster, but anything running outside those regions is invisible to Catio. It will not appear in the inventory, and no blueprint will reason about it — which reads as "we don't have that" rather than "we didn't look."
The wizard groups regions by geography (North America, EMEA, Asia Pacific, South America, China, GovCloud) so you can select a geography and then fine-tune the list.
5. Review and name the integration
Give it a name that distinguishes it from other integrations in the list. If you connect more than one AWS account, the name is how you tell them apart when subscribing integrations to workspaces, so name it after the account or environment rather than leaving the default.
Done when
The integration appears in the list and a run completes. Components then show up in Diagrams and the Architecture Inventory. If nothing appears, see Integration Troubleshooting.
Updated about 1 month ago