

Kubernetes Integration
What the Kubernetes integration contributes, and what you need to connect it.
What this contributes
Kubernetes adds the compute workloads running on top of your infrastructure: services, deployments, and where they actually run, rather than where a diagram says they run.
AWS tells Catio what capacity exists. Kubernetes tells it what is using that capacity. Without it, a cluster appears as infrastructure with nothing on it, and blueprints about scaling, placement, or consolidation have no workload to reason about.
Setting it up
The wizard has four steps: select the integration, grant Catio access to the cluster, provide the kubeconfig, then review and name it.
1. Select Kubernetes
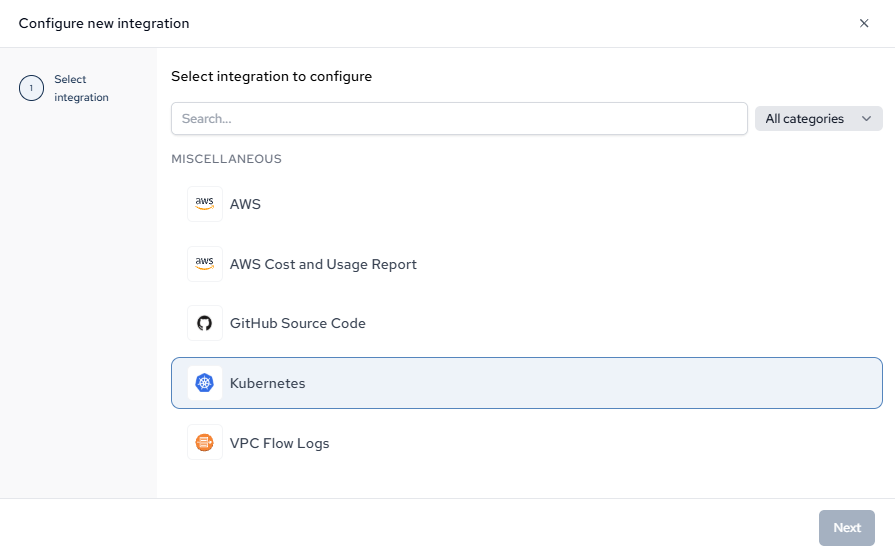
Connect the AWS integration first. On EKS the cluster access model reuses the IAM role that integration creates, and the workloads Kubernetes reports need the underlying infrastructure to attach to.
2. Read what the extractor collects
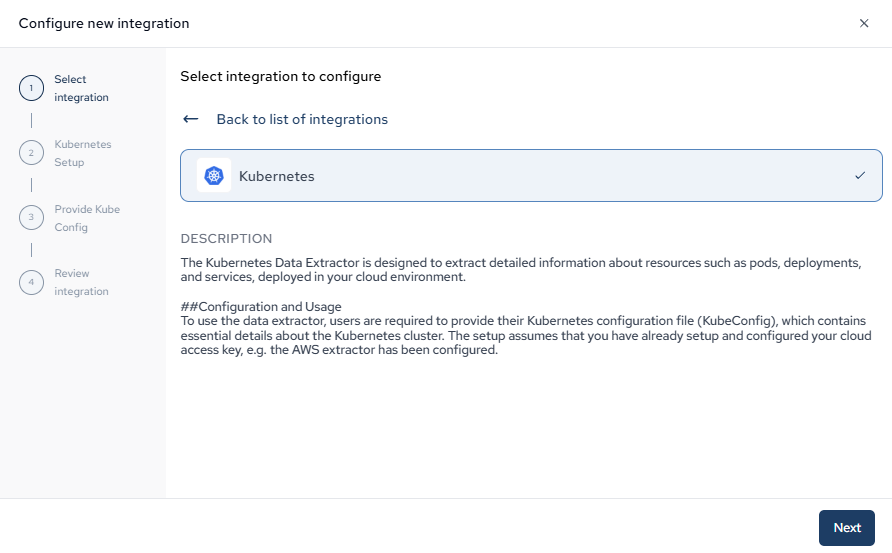
It extracts pods, deployments, and services from the cluster. This is the workload layer: what is actually running, as opposed to the capacity AWS reports as available.
3. Grant Catio access to the cluster (EKS)
On EKS, IAM alone is not enough. Cluster authorization is a separate system, so an IAM role that can describe the cluster still cannot read inside it until the cluster maps that role to a Kubernetes identity.
That mapping lives in the aws-auth ConfigMap in kube-system:
kubectl get configmap aws-auth -n kube-system -o yaml > aws-auth.yamlAdd an entry to mapRoles for the role the AWS integration created, replacing <accountId> with your AWS account ID:
- "groups":
  - "system:masters"
  "rolearn": "arn:aws:iam::<accountId>:role/CatioConsoleAccessRole"
  "username": "CatioConsoleAccessRole"
Then apply and confirm:
kubectl apply -f aws-auth.yaml
kubectl describe configmap aws-auth -n kube-system
The new role should appear in the output. Note that the group you bind determines what Catio can do inside the cluster, and system:masters is a broad binding — review it against your own cluster RBAC policy before applying, and bind a narrower read-only group if your policy requires it.
Editing aws-auth incorrectly can lock users out of the cluster, so take the backup the first command produces and keep it until you have verified access.
4. Provide the kubeconfig
Paste the cluster's kubeconfig as JSON. It carries the API server endpoint, the certificate authority data, the context, and the exec-based authentication block — together these are what let the extractor reach the cluster the ConfigMap just authorized it for.
The field validates on submit. If it reports invalid input, the usual causes are leaving the placeholder comment in place or pasting YAML rather than JSON.
5. Review and name the integration
If you run more than one cluster, name each integration after the cluster rather than accepting the default, since the name is what identifies it when subscribing to a workspace. Each cluster is its own integration.
Done when
A run completes and workloads appear in the Architecture Inventory attached to the infrastructure they run on. If the cluster resolves but returns nothing, the aws-auth mapping is the first thing to check. See Integration Troubleshooting.
Updated about 1 month ago