

Create a Workspace
Draw the boundary for one architectural decision, in five steps.
The five steps are not paperwork. Steps 3, 4, and 5 are where you state the objective, name what is in scope, and set the constraints, which is the same structure every Catio output is generated against. A workspace created without them still opens, and everything it produces is optimized toward something nobody chose. For what a workspace is a unit of, see What is a Workspace?.
In order to explore your architecture with Catio, you must create a workspace. Creating a workspace is a guided, five-step process that captures the context Archie needs to tailor recommendations to your environment.
The walkthrough below follows a single use case, a team kicking off a monolith-to-microservices migration, to show how each step shapes the workspace.
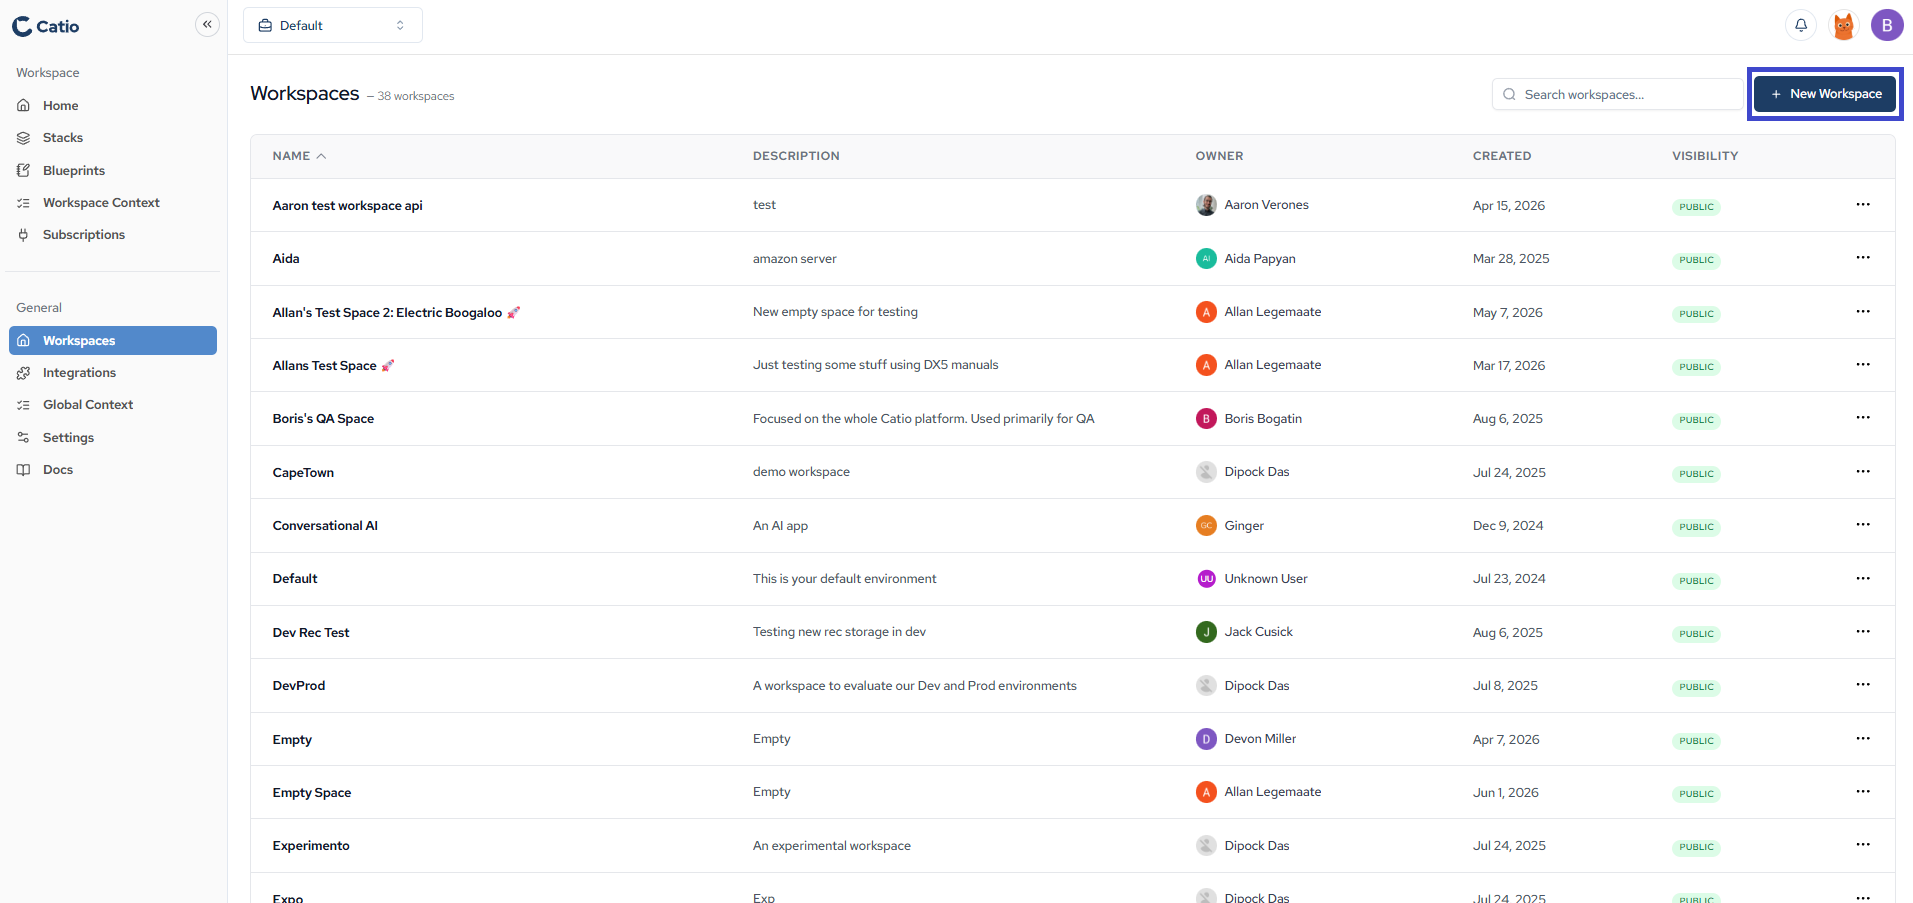
To start, click Workspaces (under General) in the left side menu, then click + New Workspace.
-
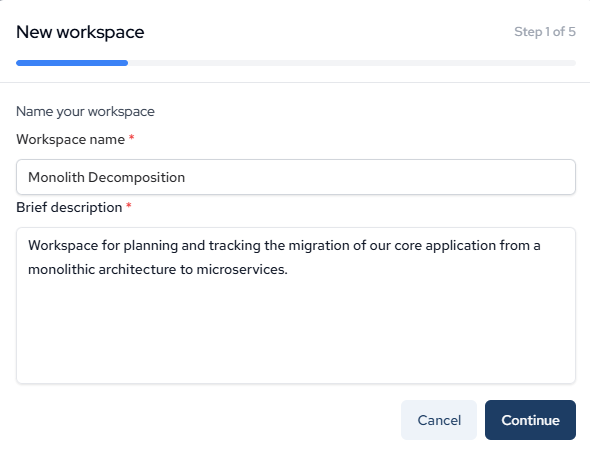
Step 1 of 5: Enter a Workspace name and a Brief description, then click Continue.
- Workspace name: Monolith Decomposition
- Brief description: Workspace for planning and tracking the migration of our core application from a monolithic architecture to microservices.
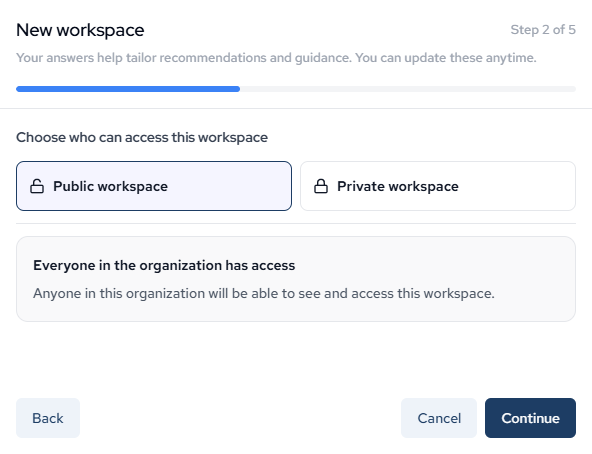
- Step 2 of 5: Choose who can access this workspace, then click Continue.
-
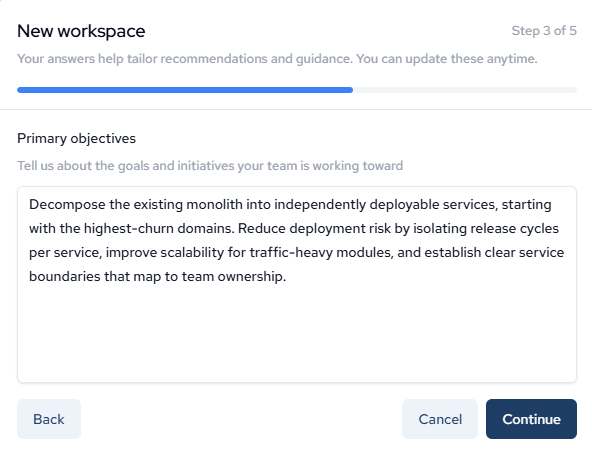
Step 3 of 5: Under Primary objectives, describe the goals and initiatives your team is working toward, then click Continue.
Decompose the existing monolith into independently deployable services, starting with the highest-churn domains. Reduce deployment risk by isolating release cycles per service, improve scalability for traffic-heavy modules, and establish clear service boundaries that map to team ownership.
-
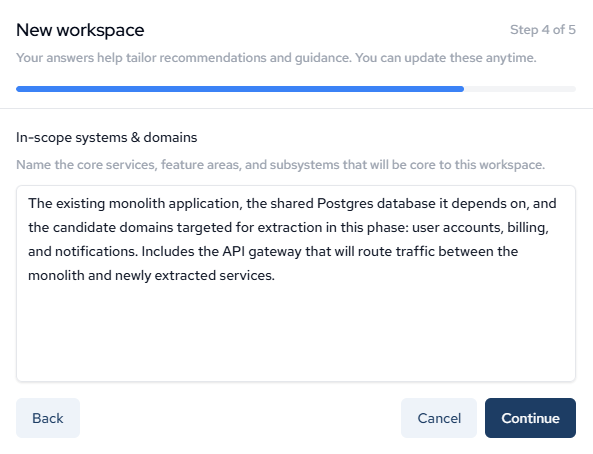
Step 4 of 5: Under In-scope systems & domains, name the core services, feature areas, and subsystems that will be central to this workspace, then click Continue.
The existing monolith application, the shared Postgres database it depends on, and the candidate domains targeted for extraction in this phase: user accounts, billing, and notifications. Includes the API gateway that will route traffic between the monolith and newly extracted services.
-
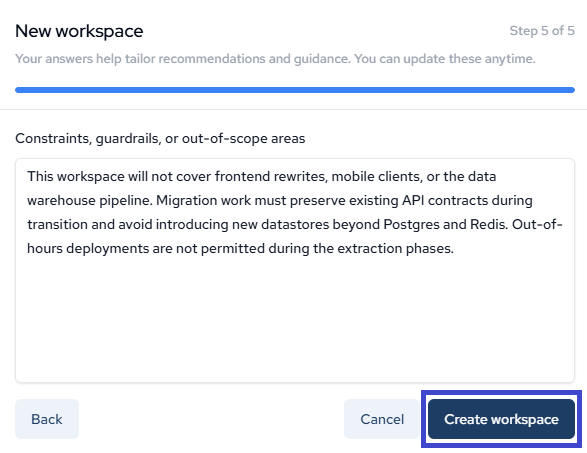
Step 5 of 5: Under Constraints, guardrails, or out-of-scope areas, list anything that should be excluded or bounded for this workspace, then click Create workspace.
This workspace will not cover frontend rewrites, mobile clients, or the data warehouse pipeline. Migration work must preserve existing API contracts during transition and avoid introducing new datastores beyond Postgres and Redis. Out-of-hours deployments are not permitted during the extraction phases.
Your newly created workspace will appear on the Workspaces main screen. Your answers can be updated at any time.
Updated about 2 months ago